Launch day
Show the actual product in your announcement.
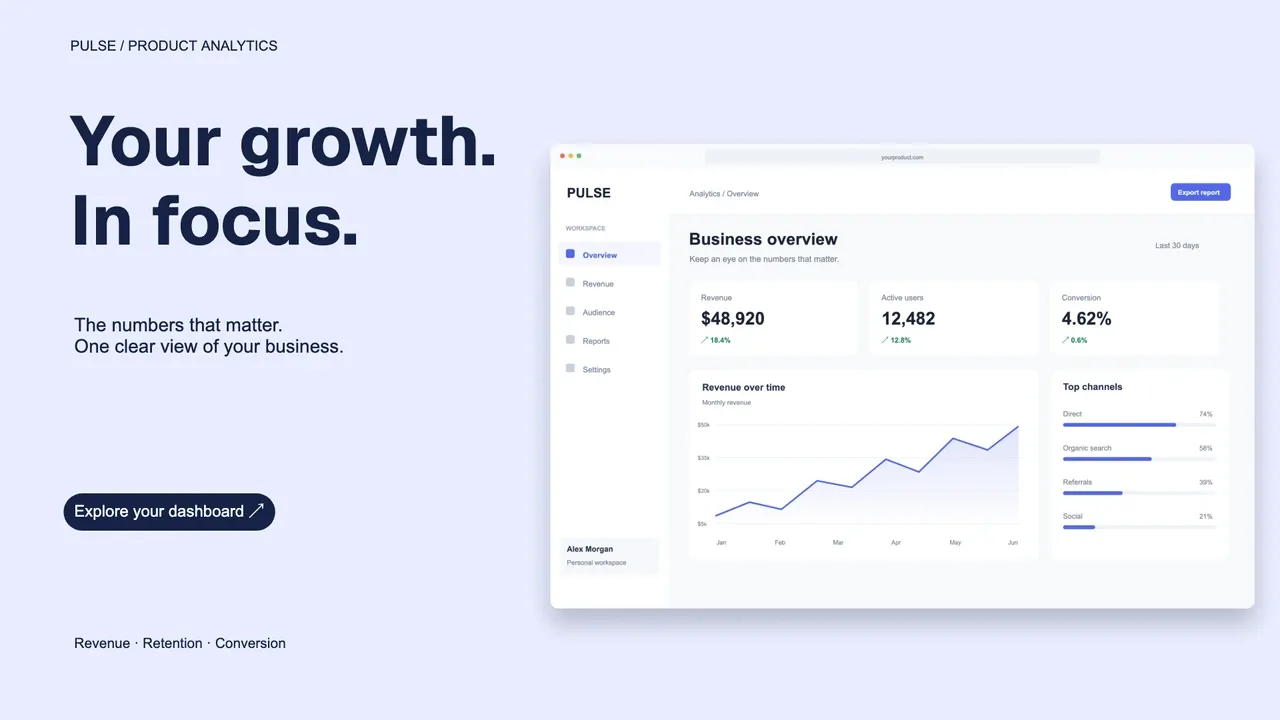
Product Screenshot Maker
Upload your screenshot, choose a template, customize, and download.
Everything happens in your browser.
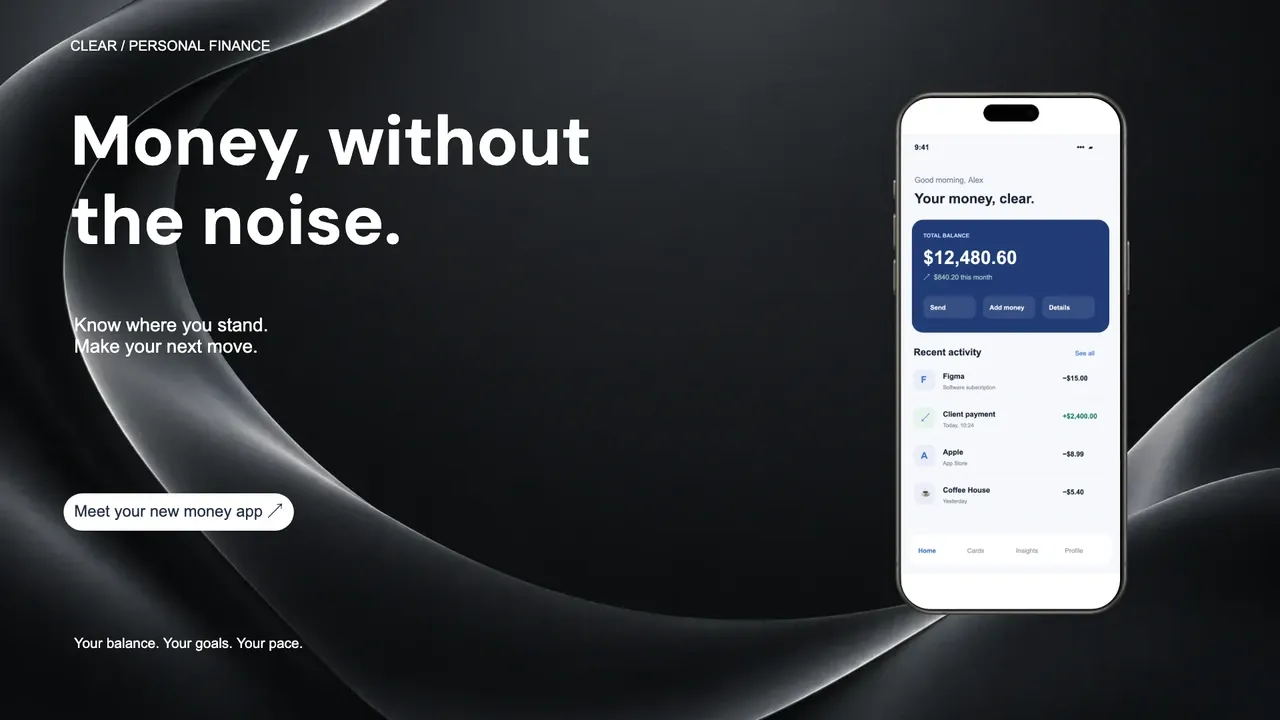
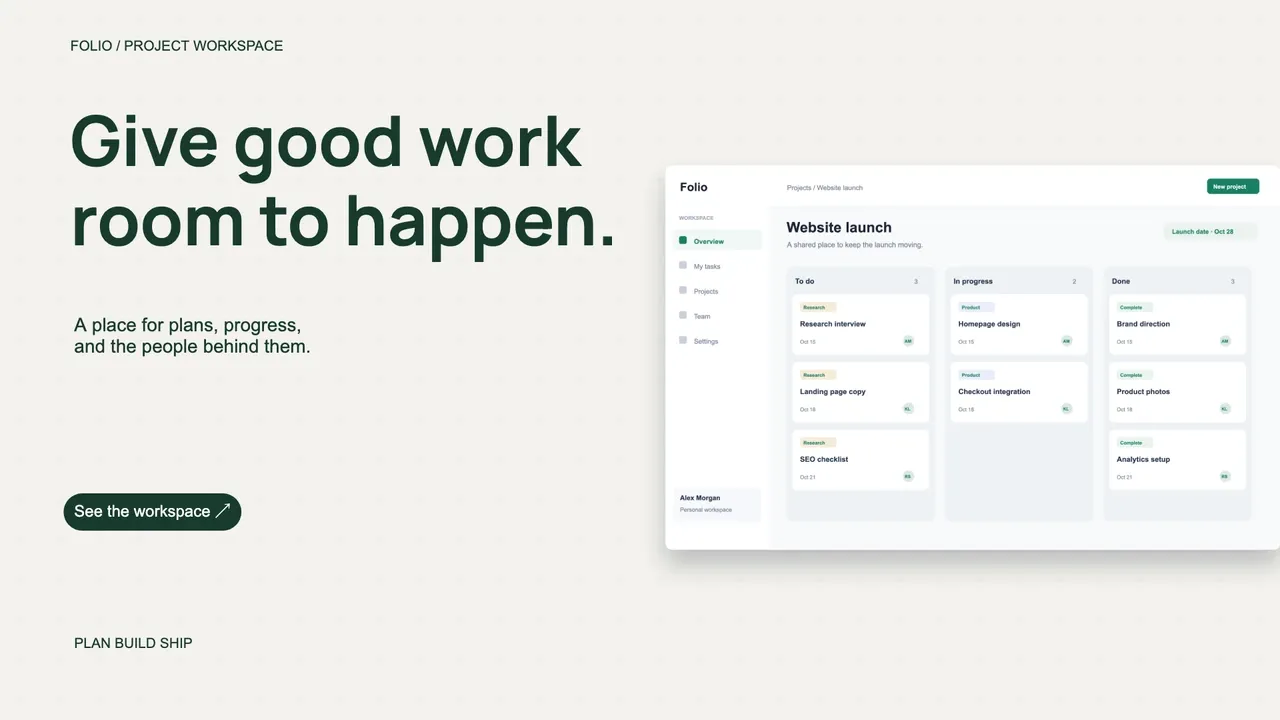
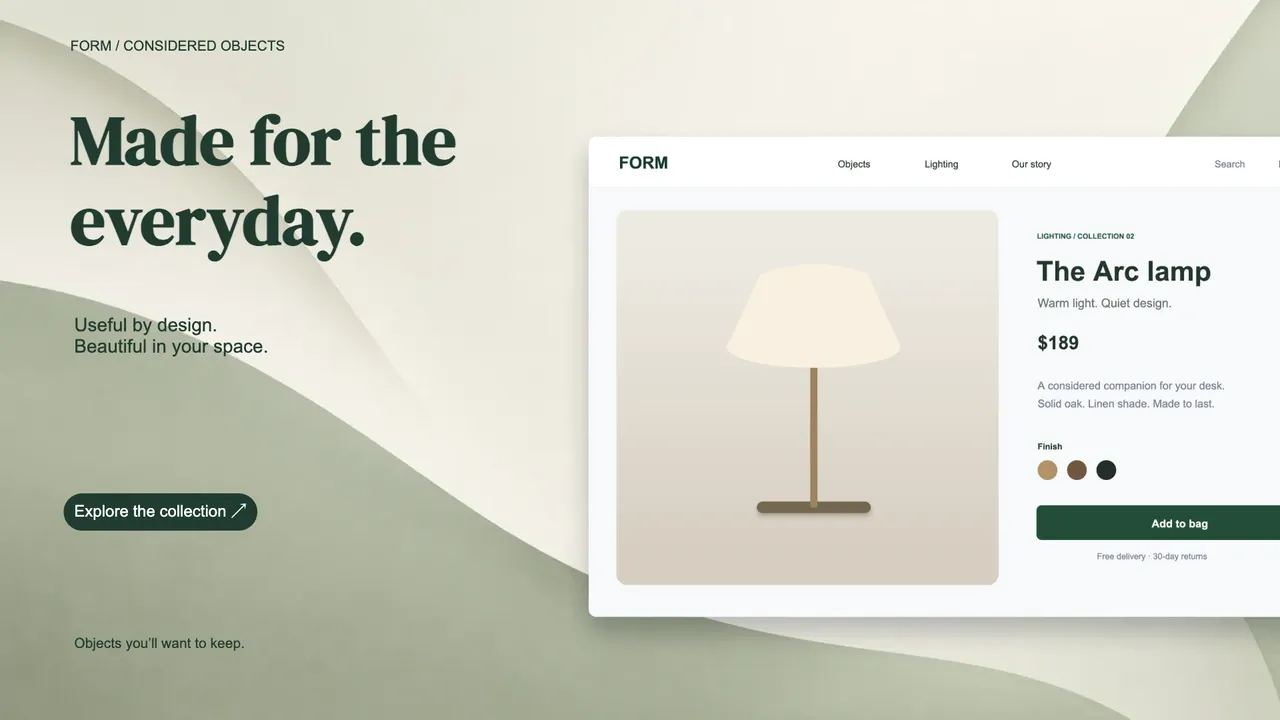
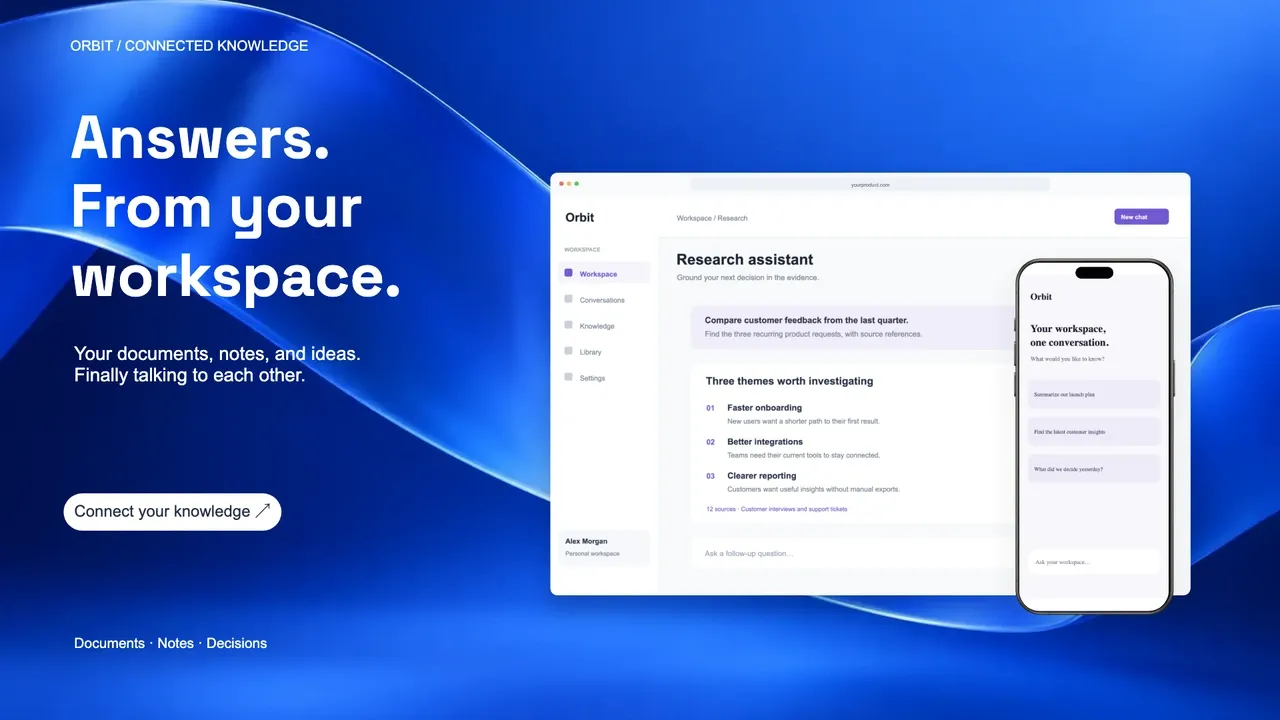
Same screenshot. Different use case.
Show the actual product in your announcement.
Create wide or tall HD and 4K images from the same screen.
Place a product view beside the message that matters.
Show what changed in your product.
Browser, phone, and editorial layouts in one place.
Upload, adjust, and export in your browser.
Change the format for your site or next post.
Your images stay on your device.
A screenshot shows the interface. A short video shows the interaction. Record a feature walkthrough with your screen, camera, and voice, then download a demo for your launch, landing page, or customers.
Record your product demo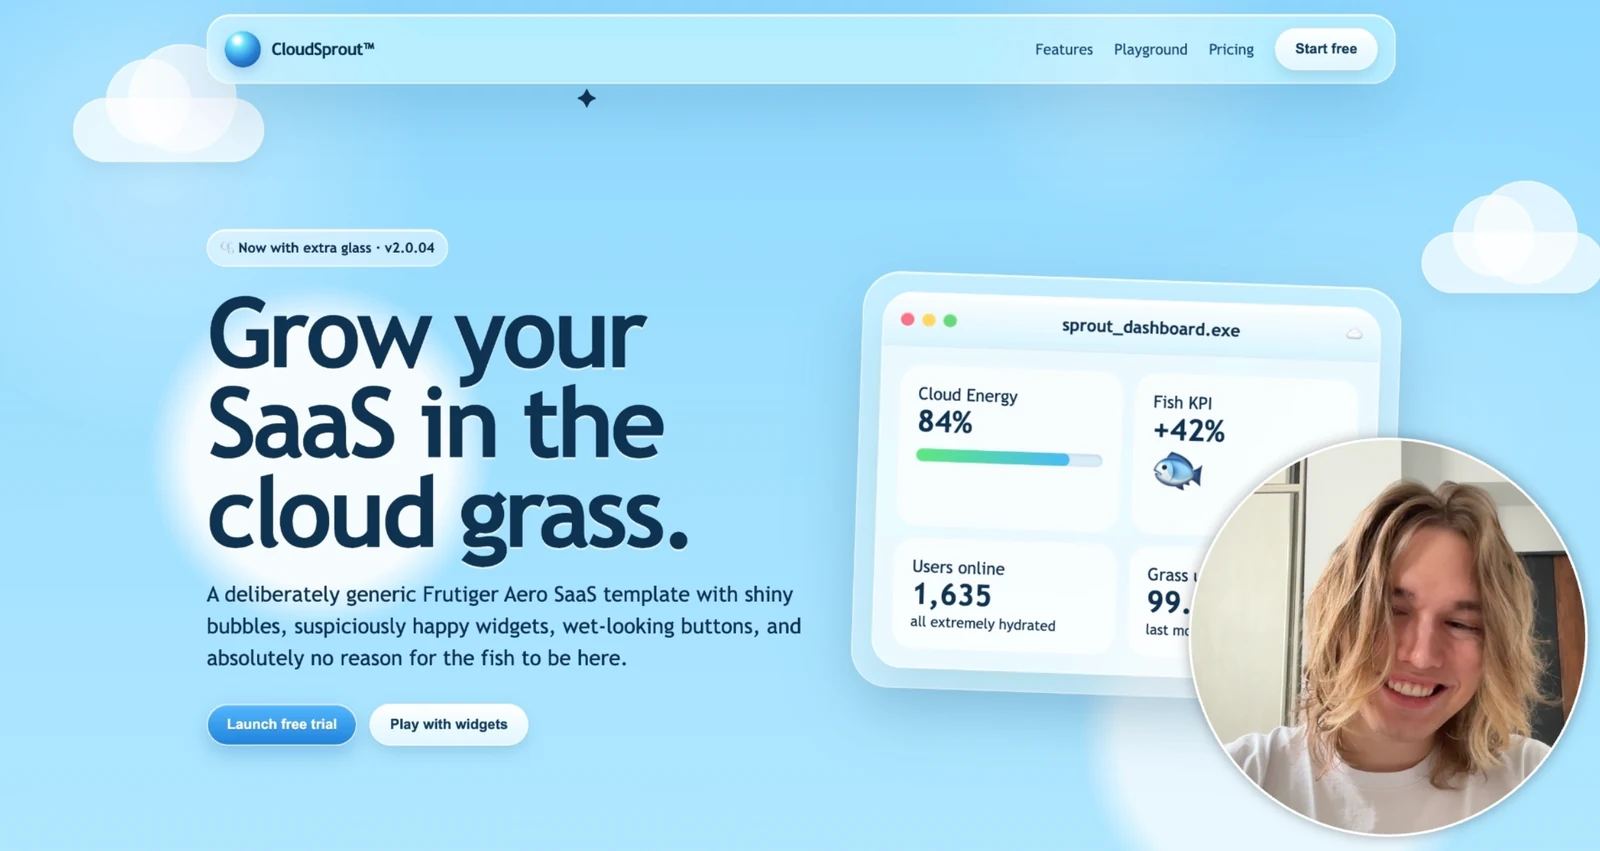
From the first upload to a ready-to-publish image.
Upload a PNG, JPG, or WebP screenshot, choose a template, and adjust the background and composition. Use Edit canvas to move the product, add text or images, and arrange the layers. Choose HD or 4K, then download your image.
Yes. You can use the editor, templates, backgrounds, fonts, and full-resolution exports without creating an account. Your exported image has no watermark.
No. Your screenshots, custom background files, and added images are processed in your browser. The editor downloads its fonts and preset backgrounds, but your uploaded files stay on your device.
Choose wide HD (1920 × 1080), tall HD (1080 × 1920), wide 4K (3840 × 2160), or tall 4K (2160 × 3840). The canvas preview is scaled to fit; the download uses your selected full resolution.
PNG preserves sharp interface text and avoids compression artifacts. WebP usually produces a smaller file for your website. JPG is useful when your destination needs JPEG. Adjust JPG or WebP quality in Export settings.
Yes. Choose Upload background to open a local image. Adjust its zoom and position, or use a solid colour, gradient, or one of the abstract backgrounds in the library.
Click Edit canvas, select an element in the preview or layer list, and drag it to move it. Use the corner handles to resize and the handle above it to rotate. Hold Shift while resizing to change the width and height independently. Device frames and their screenshots move together.
In Edit canvas, choose Add text. Edit its wording, font, size, weight, colour, and alignment in the settings panel. You can add a solid, gradient, outline, or line-highlight background and adjust padding, corners, and opacity.
Use Add image in Edit canvas to open an image from your device. Transparent PNG and WebP logos retain their transparency. Drag, resize, rotate, and reorder them like other layers.
Use a browser window for web SaaS, a phone or tablet for mobile products, an editorial layout to add a headline, and a desktop + mobile layout for a product with both experiences. Launch posters, split presentations, and product cards give you different ways to frame your message.
Fill and crop fills the available frame and may trim the edges. Choose Show entire screenshot to keep the whole image visible, then reduce Image zoom or adjust its horizontal and vertical position.
Yes. The toolbar has Undo and Redo. In canvas editing mode you can also use Ctrl or Command + Z, and Shift + Ctrl or Command + Z to redo. Reset position restores only the selected element’s placement.
You can use your exported design for your product launches, website, advertisements, and social posts. Make sure you have permission to use any screenshot, logo, or other image that you upload.
This tool creates still images. To show a product interaction, use Free Online Screen Recorder. Preview your screen and camera, record a walkthrough, and download the video. You can use a screenshot from the video as its cover here.
The current design stays in this browser session, but it is not saved after a refresh or closing the page. Download your finished image before leaving. The random starting design is a sample, so you can explore without uploading anything.